Infill Landscape Blog
Can I Install Artificial Turf in the Winter?
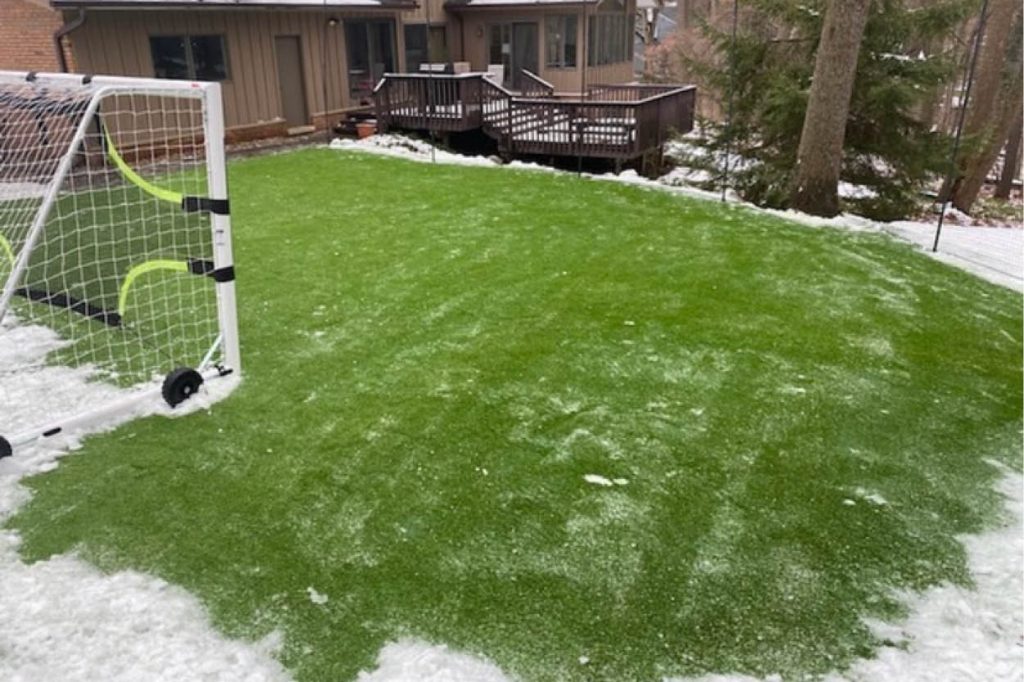
Ready or not, winter is here.
Are you tired of dealing with messy, muddy natural grass? But… also afraid the winter weather will hinder your artificial turf installation?
We have good news! You can still transform your yard into a beautiful artificial turf lawn, even in the winter season.
Be Prepared
We know you’re ready for your new lawn, and we’re excited for you. But before you dive in and get started, we want to make sure you’re fully prepped and ready to go. Here are a few things to keep in mind.
Pro Tips for Winter Installation
Winter weather conditions can be tough, and depending on your corner of the world, they can be mild or more severe. Maybe you experience a lot of rain, ice, snow, or all of the above? Whatever the weather, artificial turf needs to be dry before laying down infill so that it doesn’t end up clumping on turf fibers.
Cold weather can also take turf adhesive tape a bit longer to cure. Once it’s installed, we recommend not stepping onto your turf for at least 24 hours so that it has enough time to properly set.
Okay, one last pro tip. If you decide to store your artificial turf outdoors, it’s a good idea to frequently rotate turf rolls so the grass fibers stay perky. Since turf holds its shape better in cold weather, you want to be sure to avoid any potential flattening to the turf carpet.
Installing Artificial Turf in the Winter
Now that you have a few pro tips to help you get started, it’s time for installation.
We highly recommend working with a professional installer for quality assurance. However, if you’re the kind of person that lives for “do it yourself” projects, we get that too. Let’s break down some at-home steps for installing artificial turf in the winter.
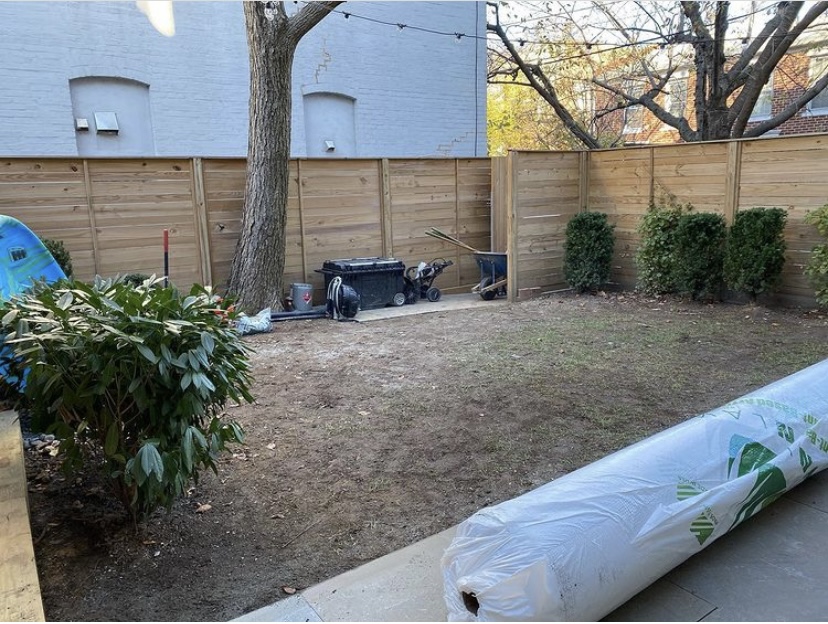
The Base
This is the most important part of the installation process. Properly preparing the base lays the foundation for a high quality turf lawn when all the hard work is done.
If you’re dealing with a newly constructed area, make sure you smooth out the space and fill in the base. You’ll also want to make sure it’s sloped properly for optimal drainage.
If you’re installing turf over an existing lawn, be sure to remove all of the natural grass prior to filling in the soil underneath to smooth out the surface before you lay down artificial turf grass. You don’t want any bumps or lumps underneath the turf.
Cutting Artificial Turf
Once you’ve successfully filled in, compacted, and smoothed out the base aggregate of your lawn, it’s time to lay down the turf.
When you’re installing turf in the winter, time is of the essence. We recommend getting started earlier in the day, because turf may need some time rolled out in the sun before you can fully shape and cut it.
Roll out your artificial turf grass and cut it to the right size by using a utility knife or turf-specific cutting tool. We suggest cutting your grass a little bit larger than what’s necessary so that you’re sure to have complete coverage.
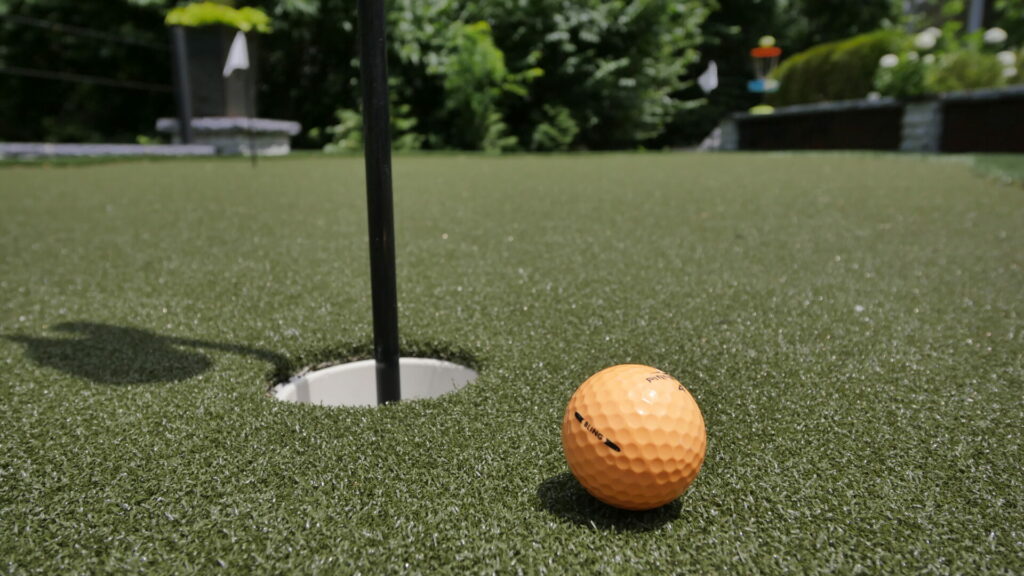
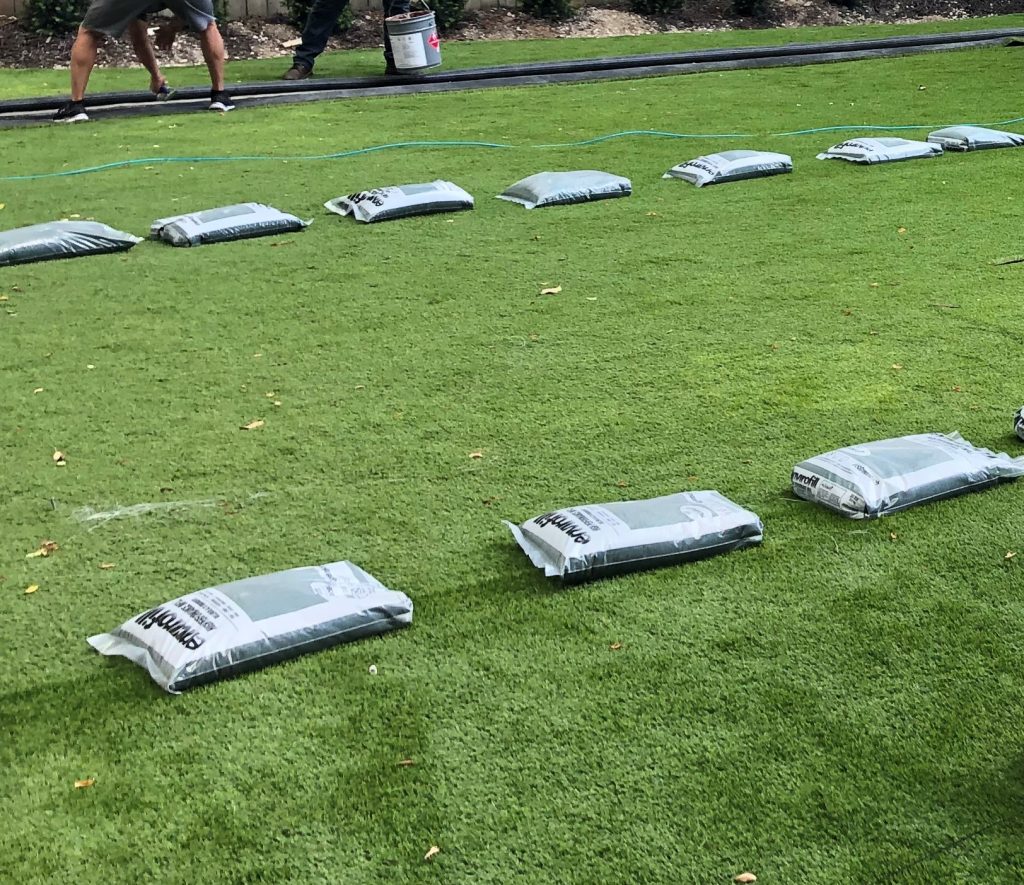
We know that projects don’t always go as planned. If the area you’re covering happens to be larger than the turf roll, you’ll need to seam the turf pieces. When adhering the seams together, Envirofill infill bags make a great weight to hold the seams in place giving the adhesive time to set while keeping the cold and still turf carpet ends down. Simply place the heavy Envirofill bags in the center of the two seams, and you will be good to go.
Securing Artificial Turf
You’ve taken a lot of time curating your base and meticulously rolling out your turf. The next step is making sure your turf grass is secure.
Move around the perimeter of your artificial turf and use landscape spikes to keep it in place. If there are any loose areas, we recommend using a carpet kicker to ensure turf stays fitted and tight.
Installing Infill
Phew! You’re sweaty. You’re tired. But your “do it yourself” project — turf addition — is almost complete. One more step until the finished product. Ready?
It’s time to spread your infill. Watch this short video showing you step by step how to install infill.
Use a large seed spreader to make sure your infill is installed evenly across the artificial turf. You can use a broom, turf rake, or power broom to sweep the infill into the artificial grass fibers.
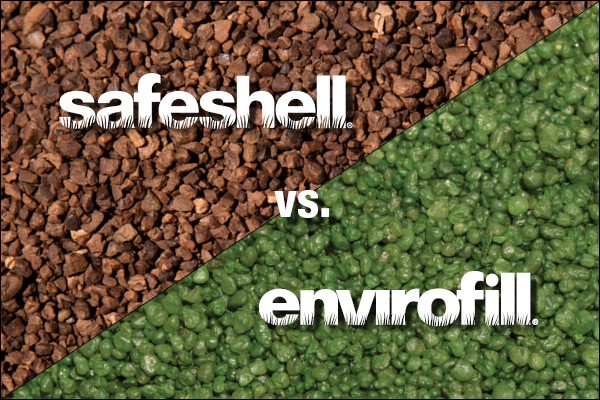
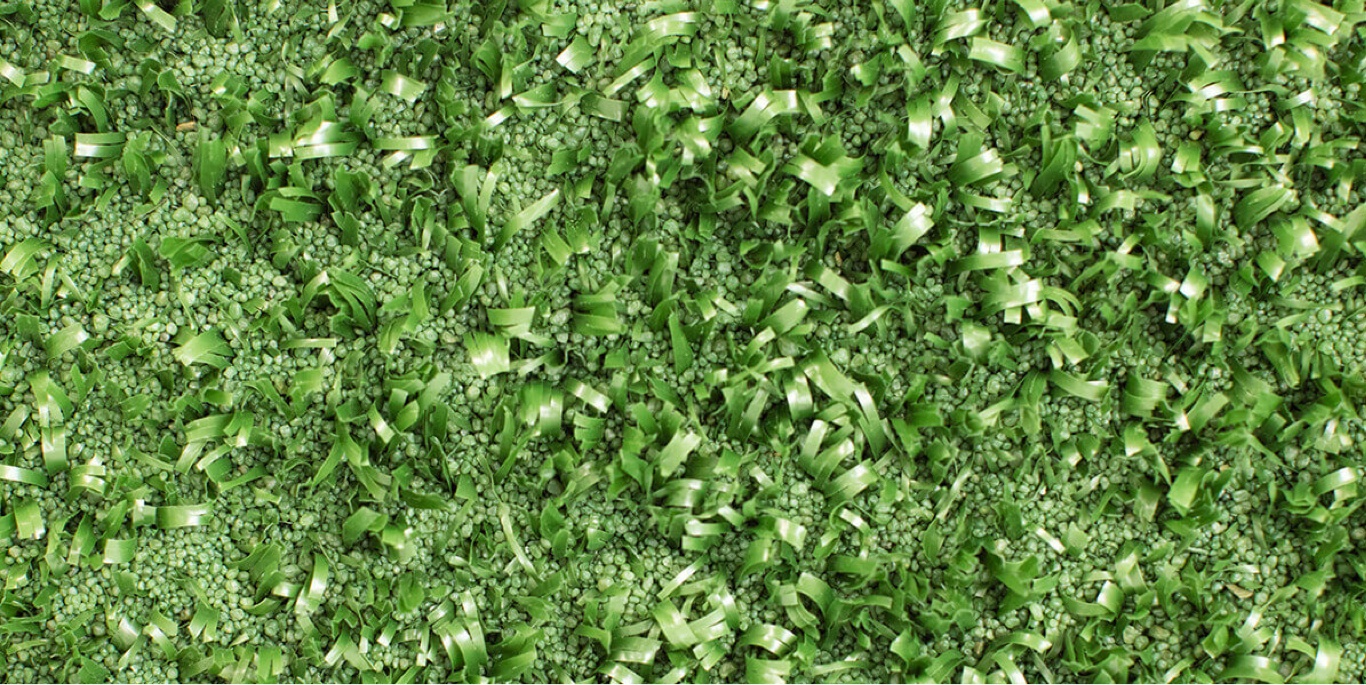
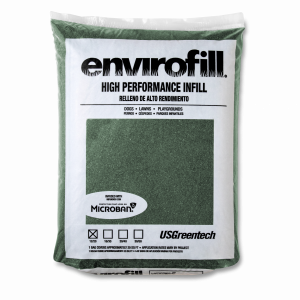
Choosing the Right Infill
Both Motz infill offerings are low maintenance, clean, and durable. If you have pets and want an infill that helps combat bacteria and tough odors, Envirofill will work wonders for you. Envirofill is infused with Microban® antimicrobial protection to support both the smallest and largest pet breeds.
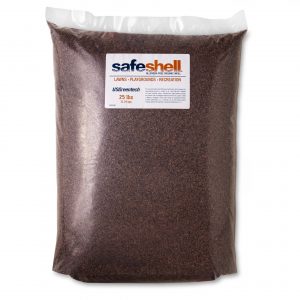
But hang on, let’s switch gears for a minute. Maybe you’re all about natural, earth-grown products? If you’re an advocate for organic materials and want an infill that is 100% natural, Safeshell is your match. It’s made from English and Black walnut shells and has a 100% USDA Certified BioBased Product Certification.
Whatever your needs, our infills are here to work with you and for you. Find an installation partner or infill reseller near you.
Ready to Get Started?
This winter season, don’t settle for brown grass and the muddy, wet mess that comes with it. Enjoy a lawn that looks beautiful all year round.
Reference These Handy Blogs to Learn More About Artificial Turf in the Winter
Similar Blogs